USB Data Recovery: How to Recover Files from a USB Drive Without Making Things Worse
USB data recovery is often possible—but only if you act carefully.
Unlike internal hard drives, USB flash drives don’t have a recycle bin, automatic version history, or background backups. When files disappear from a USB drive, the margin for error is small. Formatting, repairing the drive, or continuing to use it can permanently overwrite data that was otherwise recoverable.
This guide explains how USB data loss happens, what to do immediately, which recovery methods actually work, and how to recover files safely—without making the situation worse.
Part 1. Can Data Really Be Recovered from a USB Drive?
In many cases, yes—but USB recovery has stricter limits than HDD or SSD recovery.
USB flash drives use flash memory, which behaves differently from traditional hard drives:
- Deleted files are not erased immediately
- Storage space is marked as “available”
- New writes overwrite old data quickly
- There is no recycle bin or rollback mechanism
If the USB drive is still detected by the system, hasn’t been overwritten extensively, and isn’t physically damaged, data recovery is often possible.
Part 2. Common Reasons for USB Data Loss
Most USB data loss happens due to everyday scenarios rather than hardware failure:
- Accidental deletion
- Formatting the wrong USB drive
- Improper removal during file transfer
- File system corruption (RAW USB)
- Hidden file attributes caused by malware
- Virus or ransomware attacks
- USB controller instability
Understanding the cause matters because some actions that “fix” a USB drive can destroy recoverable data.
Part 3. What to Do Immediately After USB Data Loss (Critical)
This is the most important stage of USB data recovery.
Stop using the USB drive immediately
- Do not copy new files to it
- Do not open, edit, or rename files
- Do not attempt repairs
Avoid these common mistakes
- ❌ Formatting the USB drive
- ❌ Running CHKDSK on a RAW or unstable USB
- ❌ Repeatedly unplugging and reconnecting the device
- ❌ Trying multiple recovery tools back-to-back
USB flash memory overwrites data far more aggressively than traditional hard drives. Many recovery failures are caused not by data loss itself—but by what users do after noticing the problem.
Part 4. Built-in Methods You Can Try First (Low Risk)
Before using recovery software, it’s reasonable to try methods that don’t modify data.
Check for hidden files
Sometimes files aren’t deleted but hidden due to attribute changes or malware.
This method only works if:
- Files still exist physically
- Only attributes were altered
It does not help with deleted or formatted data.
Windows File History or Previous Versions
This method works only if:
- File History was enabled in advance
- The USB drive was manually included
- The USB uses NTFS (most use FAT32 or exFAT)
It’s safe to check, but rarely effective for USB flash drives.
Part 5. Why Data Recovery Software Is Often Necessary
If files were deleted, the USB was formatted, or the file system became RAW, recovery software is usually required.
How USB recovery software works
- File-system scanning restores original names and folders when structure remains
- Signature-based scanning identifies files by type when structure is damaged
For unstable or corrupted USB drives, creating a disk image and scanning the image instead of the physical device is often safer.
Part 6. Best USB Data Recovery Software by Use Case
There is no such thing as a “USB-only” recovery tool. The real differences are control, safety, and usability.
Disk Drill
- Beginner-friendly interface
- Strong signature-based scanning
- Effective for recent deletions
- Limited free recovery quota
R-Studio
- Extremely powerful for severe corruption
- Professional-grade features
- Steep learning curve
- Higher risk of user error
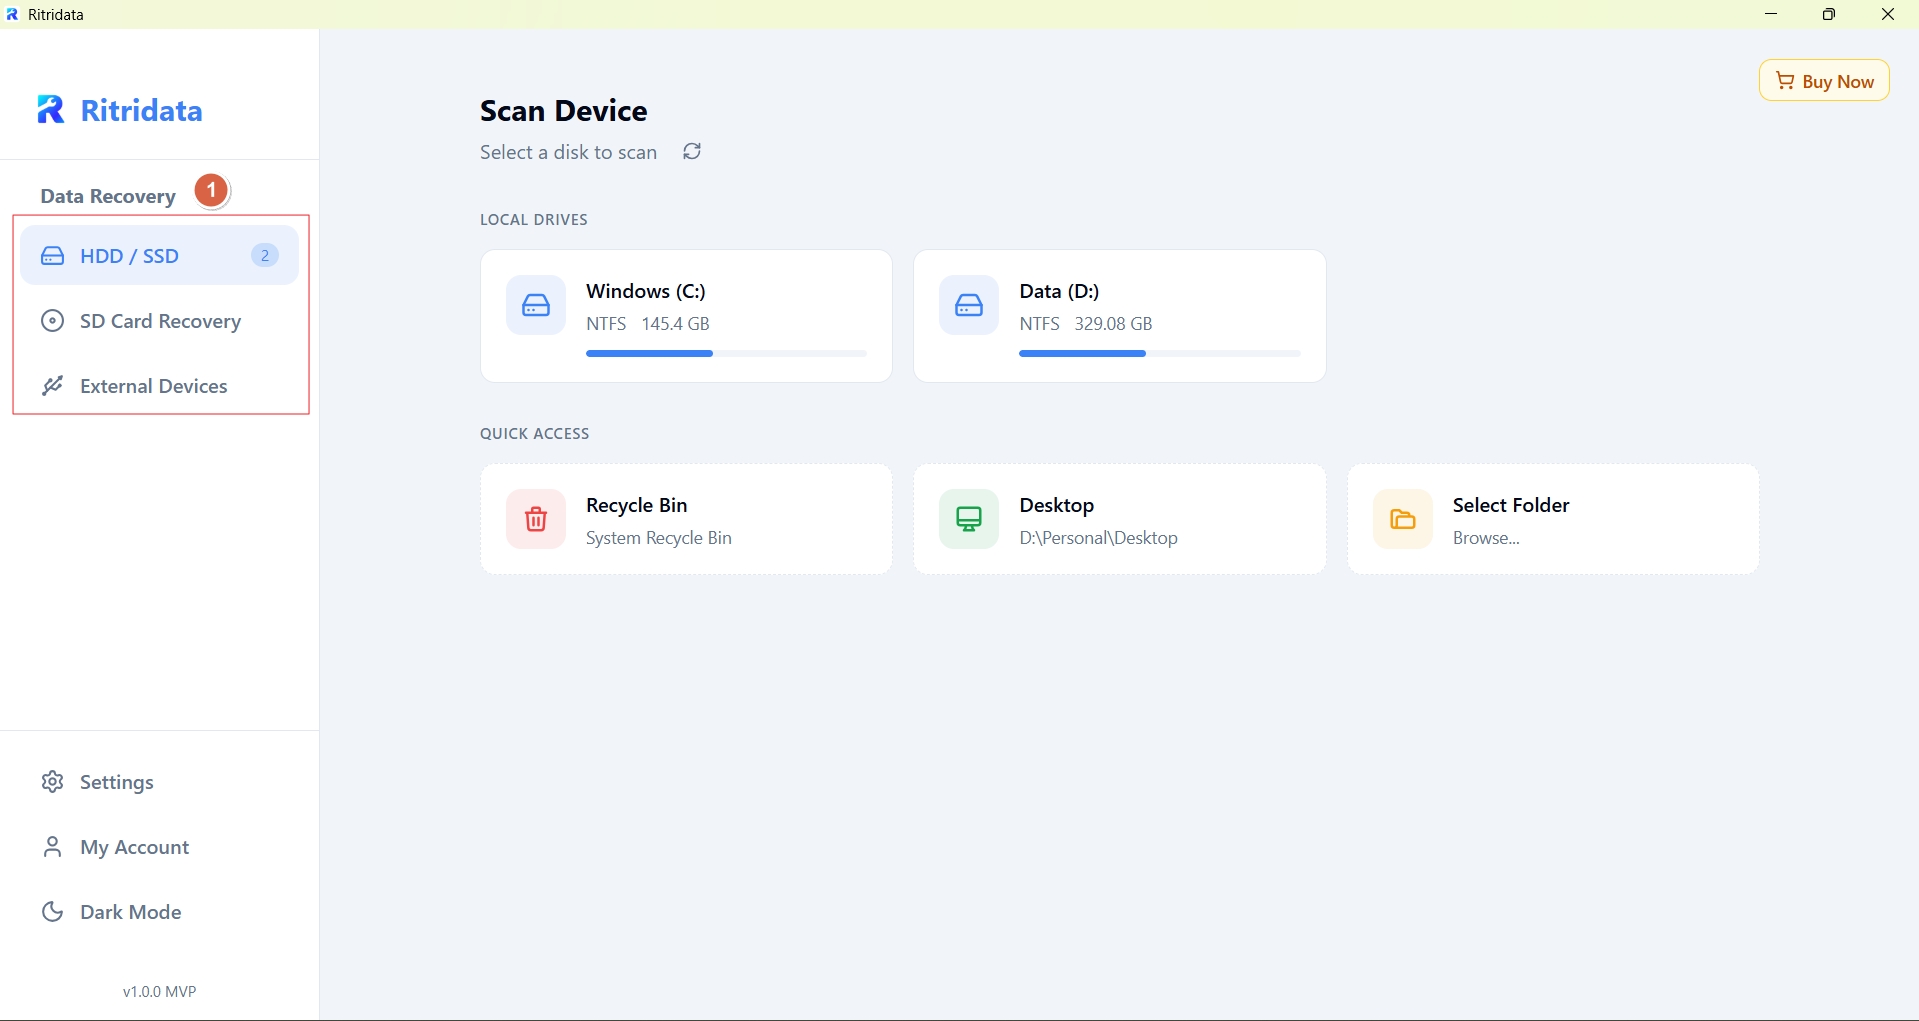
Ritridata
- Designed for everyday USB recovery scenarios
- Read-only scanning to reduce overwrite risk
- Clear, guided workflow
- Suitable for deleted, formatted, and RAW USB drives
- Available for Windows and macOS
Ritridata focuses on controlled recovery, avoiding aggressive “repair-first” behaviors that can permanently destroy data.
USB Recovery Software Comparison
| Software | Best For | Skill Level | RAW USB | Disk Imaging | Risk Level |
|---|---|---|---|---|---|
| Disk Drill | General USB recovery | Beginner–Intermediate | Medium | Yes | Low |
| R-Studio | Severe corruption | Advanced | High | Yes | High |
| Ritridata | Everyday USB recovery | Beginner–Intermediate | Medium | Yes | Low |
| EaseUS | Simple deletions | Beginner | Low | No | Low |
| DMDE | Precision recovery | Advanced | High | Yes | High |
| Recuva | Free Windows recovery | Beginner | Low | No | Low |
Part 7. How to Recover Data From a USB Drive Safely
When built-in checks no longer help, recovery should focus on preserving the USB’s current state and extracting files without adding new writes.
Ritridata fits this type of scenario because it supports read-only recovery workflows for USB flash drives on both Windows and macOS, with preview before recovery.
Step 1: Select the Original Location
Choose the USB drive itself as the recovery source.
Before scanning, confirm that:
- The USB is detected by the system
- Capacity appears normal or close to expected
- You are selecting the USB, not the system drive
If the wrong location is selected, scanning results may be irrelevant and recovery may be delayed.
If the USB becomes unstable after connection, avoid repeated unplugging and reconnecting unless necessary.
Step 2: Run a Safe Scan

Use a read-only scan that checks file system structures and remaining file data without writing anything back to the USB drive.
This is especially important when the USB:
- Was accidentally formatted
- Shows as RAW
- Contains deleted files
- Became inaccessible after improper removal
Ritridata performs read-only analysis during scanning, which helps reduce overwrite risk while locating recoverable files.
⚠️ If the USB disconnects repeatedly or becomes unreadable during scanning, stop repeated attempts and consider working from a disk image instead of the physical device.
Step 3: Preview and Recover

Preview files before restoring them.
Check whether:
- Documents open correctly
- Photos display normally
- Videos are playable
- File names and folder structure are still usable
Then recover the files to a different location, such as:
- Your computer’s internal drive
- An external hard drive
- Another storage device
Never recover files back to the same USB drive, as this may overwrite other recoverable data.
Part 8. When USB Data Recovery Software Will Not Work
Stop DIY recovery immediately if you notice:
- USB drive not detected at all
- Capacity shows as 0MB
- Frequent disconnects
- Overheating or physical damage
These are signs of hardware-level failure. Continued attempts can worsen damage—professional data recovery services are required.
FAQs About USB Data Recovery
Can data be recovered from a USB drive?
Yes, if it hasn’t been overwritten or physically damaged.
Where do deleted USB files go?
They remain in unallocated space until overwritten.
How long does data stay on a USB?
Until new data replaces it—there is no fixed time.
Can corrupted USB files be recovered?
Often yes, using deep scanning.
Can flash memory be recovered?
Yes, unless the controller or memory chip has failed.
References
- CleverFiles USB Recovery Guides
- Reddit: r/datarecovery, r/DataRecoveryHelp
- Microsoft Learn – Windows File Recovery
- Independent USB recovery testing reports